%%bash

wget -q https://artifacts.elastic.co/downloads/elasticsearch/elasticsearch-oss-7.9.2-linux-x86_64.tar.gz
wget -q https://artifacts.elastic.co/downloads/elasticsearch/elasticsearch-oss-7.9.2-linux-x86_64.tar.gz.sha512
tar -xzf elasticsearch-oss-7.9.2-linux-x86_64.tar.gz
sudo chown -R daemon:daemon elasticsearch-7.9.2/
shasum -a 512 -c elasticsearch-oss-7.9.2-linux-x86_64.tar.gz.sha512 Installation and Configuration

Elasticsearch (Source: technocratsid.com)
Downloading Elasticsearch
Follow these steps to download Elasticsearch:
- Download Format: It’s recommended to download Elasticsearch in Archive File format (
.tar.gzfor Linux/Mac or.zipfor Windows) from the official Elastic website at https://www.elastic.co/elasticsearch/. - Follow the website’s instructions to download.
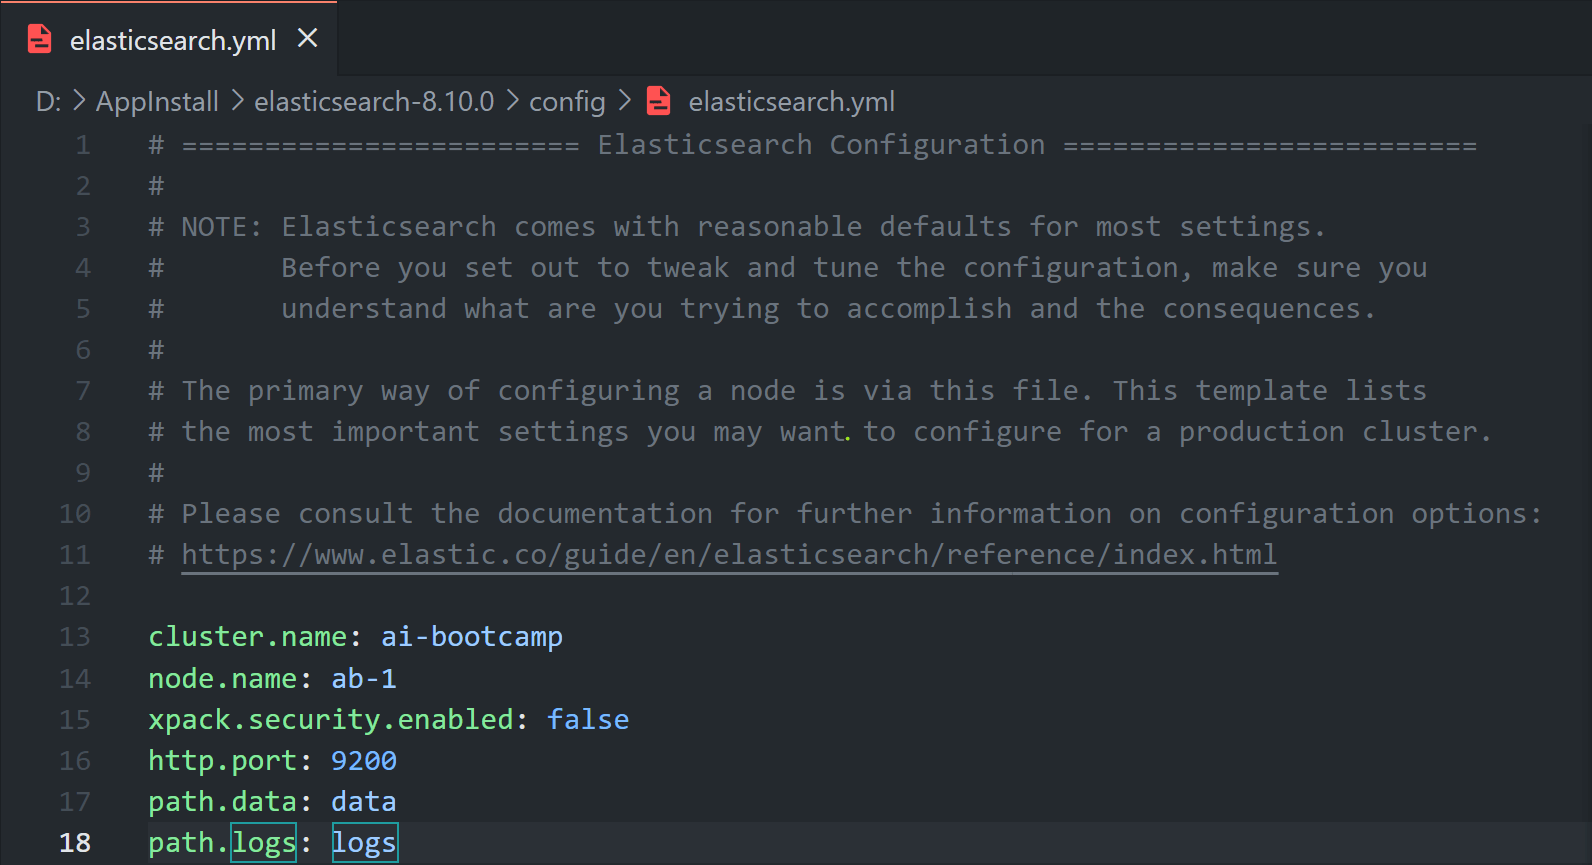
Elasticsearch Configuration
Upon setup, adjust some configurations:
- X-Pack: Disable X-Pack, a paid feature developed by Elastic.
- Configuration File: All configurations are in the
config/elasticsearch.ymlfile. - Configuration Format: Elasticsearch uses the YAML format for its configuration. Learn more at https://yaml.org/.

Remember to save and restart your Elasticsearch instance after changes!
Running Elasticsearch
After download and configuration, you’re set to run Elasticsearch:
- Start Elasticsearch: Execute the
bin/elasticsearchfile in a terminal to start the server. - Access Elasticsearch: If successful, access Elasticsearch at port 9200 (http://localhost:9200), as per the
http.portconfiguration. - Stop Elasticsearch: To stop the application, use
Ctrl + Cin the terminal running the server.
Keep Elasticsearch running to interact with it, whether for creating indices, querying data, or other tasks!
Status Elasticsearch
You can check the status of your Elasticsearch instance by sending a GET request to its HTTP API. This is usually done by accessing the root path, or home page, of your Elasticsearch instance. If your Elasticsearch server is running locally, the URL will typically be http://localhost:9200.
When you navigate to this URL, you should see a JSON response with information about your Elasticsearch instance. Here’s what the response looks like:

Setting Up Elasticsearch on Google Colaboratory
Imagine you’re a data scientist working on your machine learning project. You’re dealing with a large amount of data that needs to be searched and analyzed efficiently. Elasticsearch, a powerful search and analytics engine, comes to mind. But there’s a problem: your local machine may not have the resources to handle an Elasticsearch instance and the associated data workload.
Here’s where Google Colab, a cloud-based Python notebook service, comes in handy. By setting up Elasticsearch on Google Colab, you can leverage the power of cloud computing to handle your data workload, freeing up your local resources. Now let’s dive into how to set this up!
Now, we need to download and set up the Elasticsearch instance. For our purposes, we’ll use the open-source version of Elasticsearch.
We’re ready to start our Elasticsearch instance! We’ll run it as a daemon process:
%%bash --bg

sudo -H -u daemon elasticsearch-7.9.2/bin/elasticsearch
It takes a few seconds for the instance to start. Let’s pause our script for a bit to let Elasticsearch get up and running:
time.sleep(20)Once the instance has started, we can check its availability by looking for elasticsearch in the process list:
%%bash

ps -ef | grep elasticsearch
Finally, let’s make sure our Elasticsearch instance is working correctly by querying the base endpoint:
%%bash

curl -sX GET "localhost:9200/"
By setting up Elasticsearch on Google Colab, we’ve solved our problem! We now have a powerful search and analytics engine at our disposal, without the need for any local resources.