Building Docker Images for Python Apps
Now that we are familiar with Docker commands and how it works, let’s create our own Docker image using docker build. First things first, building a Docker image for Python applications involves creating a Dockerfile, specifying a base image, installing Python dependencies, copying your application code, and exposing necessary ports.
In summary, a Dockerfile is a text file that contains a set of instructions Docker uses to construct an image. So, we are essentially building our own Docker image.
Simple Demo App
For demo purposes, we’ll be using a simple sentiment analysis model called TextBlob and expose it using Gradio.
You can of course swap TextBlob with your own model, also feel free to change Gradio with FastAPI or similar tools.
Please download the following file beforehand so you can focus on building Docker Images: 1. requirements.txt 2. app.py
First create a folder for the project, next copy the two files downloaded above to the project folder, then continue with the steps outlined below.
Creating a Dockerfile
The first step is to create a Dockerfile. A Dockerfile is a text document that contains all the commands a user could call on the command line to assemble an image. It’s typically placed in the root directory of your application. To create one, you can use any text editor to create a new file and save it as Dockerfile.
Specifying the Base Image
In the Dockerfile, you specify a base image using the FROM keyword. For Python applications, you could use one of the official Python images from Docker Hub. For instance, if you’re using Python 3, your Dockerfile might start with this line:
FROM python:3.8-slim-busterSpecify the Work Directory
Next, you will need to specify the working directory where your application will run. This sets the working directory in the container. All following instructions (COPY, RUN, CMD, etc.) will be run in this /app directory. For example:
WORKDIR /appInstalling Python Dependencies
Next, you will need to add the Python dependencies. Your Python dependencies are typically listed in a requirements.txt file. The ADD command copies the requirements file from your local system to the Docker container. The RUN command then uses pip, Python’s package installer, to install those dependencies into the Docker image. It might look like this:
ADD requirements.txt /app/
RUN pip install -r /app/requirements.txt
Copying Your Application Code
Once dependencies are installed, you can copy your application code to the Docker container using the COPY command. For example:
COPY app.py /app/Exposing Ports
To allow your application to communicate with the outside world, you will need to expose a port using the EXPOSE keyword. For example:
EXPOSE 7860Note that 7860 is the default port used by Gradio, if you are using Fast API, then the default port is 5000 which you must specify here.
Running the application
To run the application, we need to use the CMD command
CMD ["sh", "-c", "python /app/app.py & tail -f /dev/null"]The command above starts your application when the Docker container is run. It’s saying: “When this container runs, execute python app.py”.
Don’t worry about
tail -f /dev/nullfor now, it’s a quick hack to let Gradio runs indefinitely inside the container.
That’s it for the Dockerfile, now to actually build the image.
Building and Running Your Docker Image
You should now have 3 files inside your project folder, like this:

Finally, navigate to the directory containing your Dockerfile and run the following command to build your Docker image:
docker build -t my-ai-app .Note: include the “.” also, so the whole command includes the dot “.”. In Unix-like terminal such as Linux, the “.” refers to current directory.

To run your Docker image, use the docker run command followed by the image name:
docker run -d -p 7860:7860 --name ai-app my-ai-app
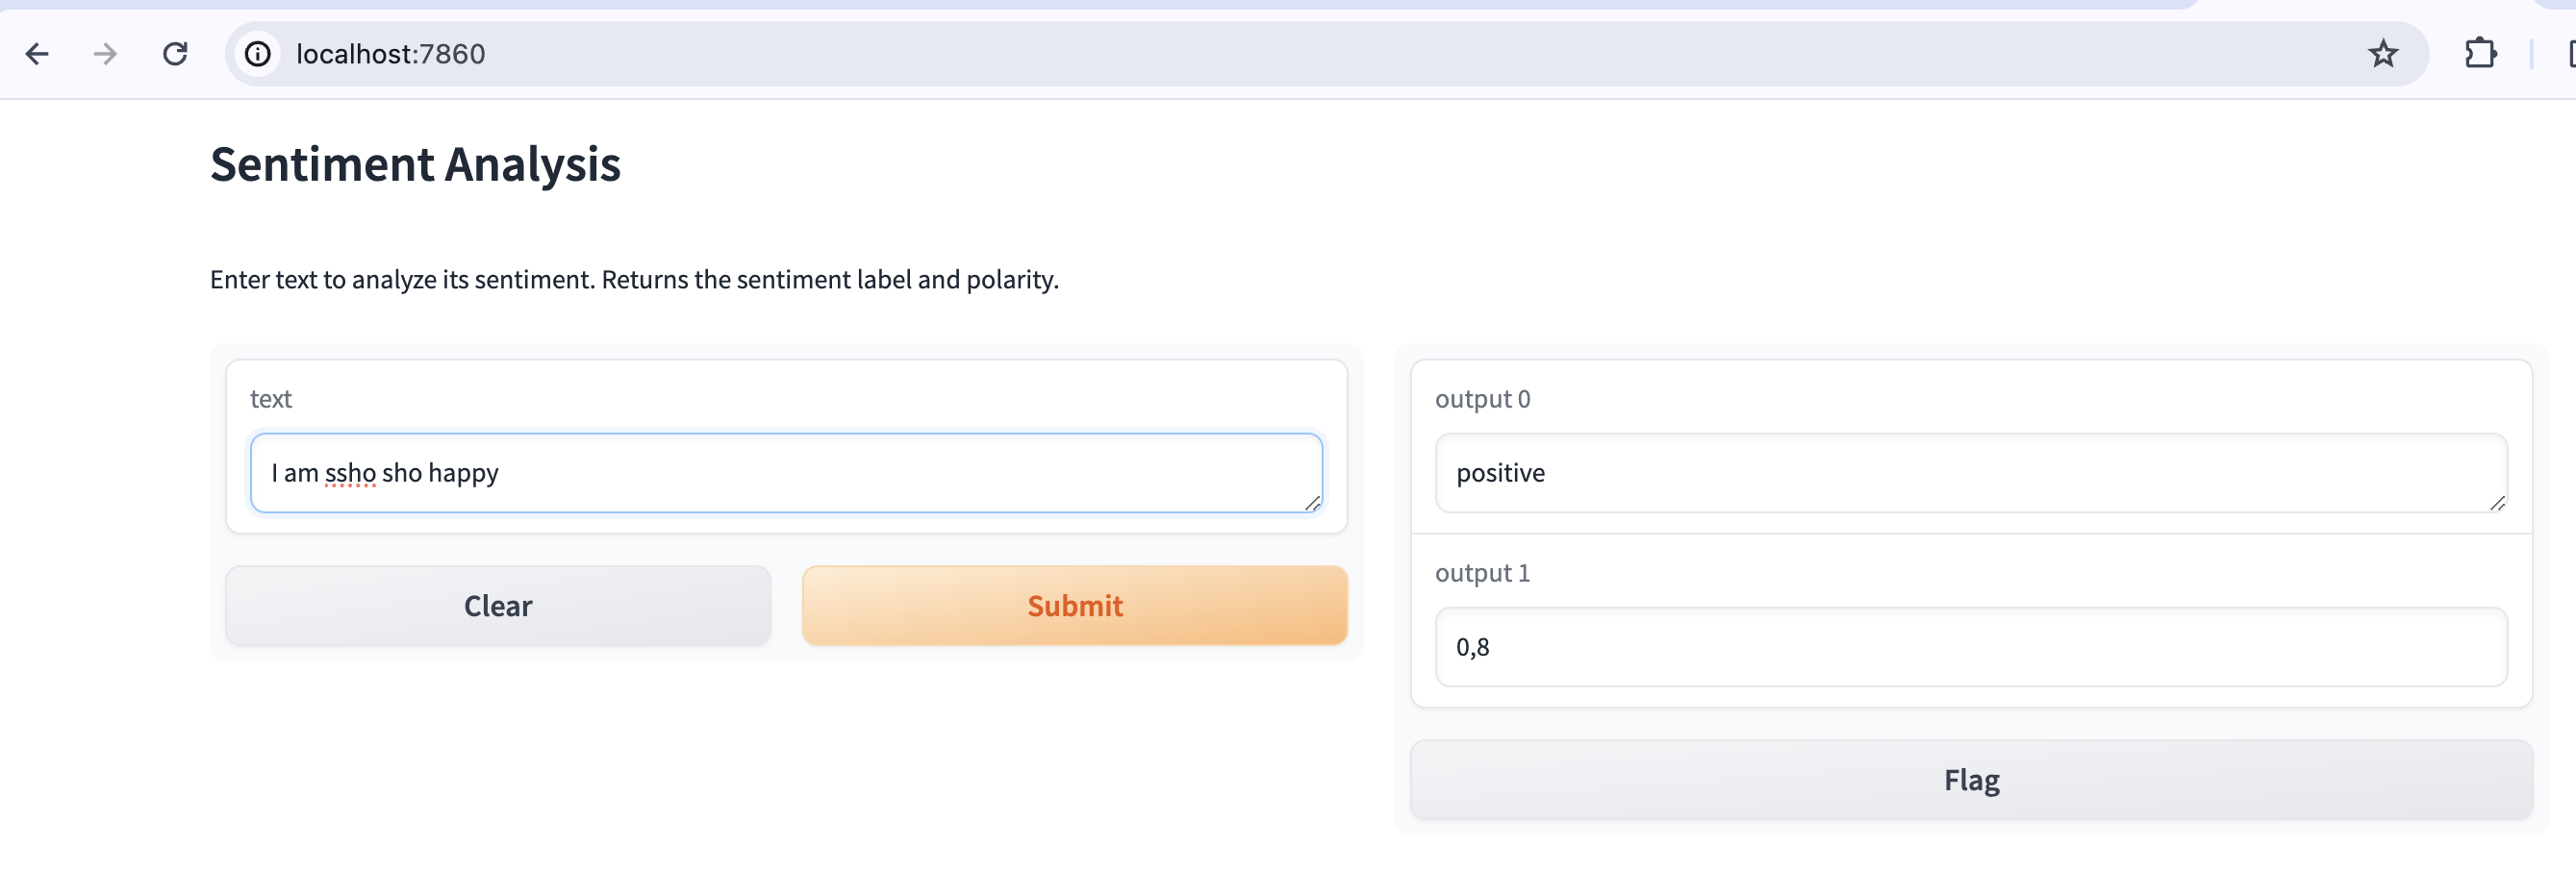
Congratulations, you now have a working AI application inside a Docker container! Go to http://localhost:7860 and have fun!

With these steps, you’ve successfully containerized a Python application with Docker. You can use similar processes to containerize applications written in other programming languages as well. Remember, the key to Docker is that it allows you to package an application with all of its dependencies into a standardized unit for software development. This process guarantees that your application will always run the same, no matter where it is deployed.
Docker simplifies the software development process by ensuring quick, reliable deployments, and fostering collaboration through a consistent working environment. It addresses traditional software development challenges, from managing dependencies to maintaining consistency across different environments. Embracing Docker can revolutionize the entire application lifecycle, infusing innovation and efficiency into your workflows. Ultimately, Docker’s key benefit lies in its ability to package an application with all its dependencies into a standardized unit, ensuring consistent functionality irrespective of the deployment location.